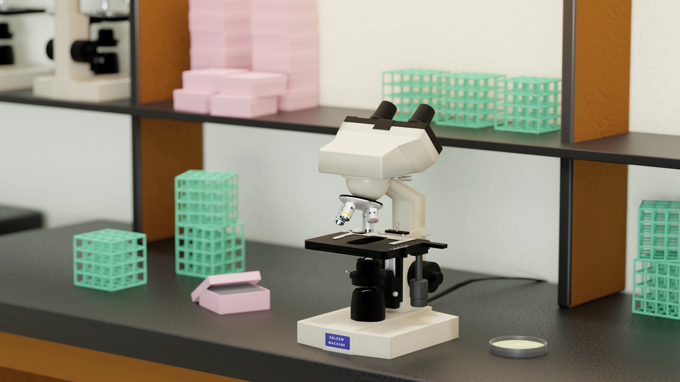
Microscope
Friday, May 20, 2022 - 12:00 AM
Background
I made this to try out the popular UVPackmaster 3 add-on for Blender with a complex hard-surface model. I wanted to see how quickly I could unwrap and bake using this add-on.
The add-on made it possible for me to make quick modifications to my already UV mapped model without having to worry about messing up existing islands, texel density, or wasting time manually organizing islands (because the built-in packer in Blender sucks).
Software used
- Blender
- Gimp
Process
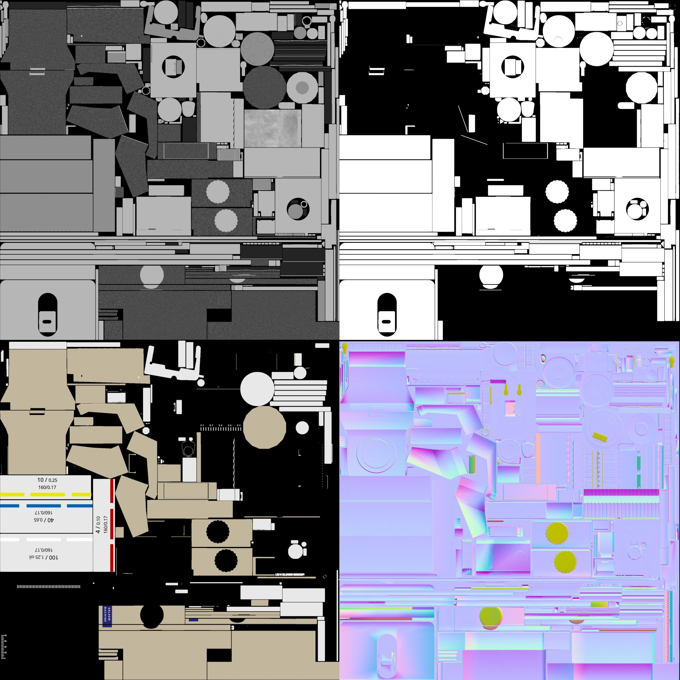
I used the actual microscope (which I bought in college) as a reference to create the high poly model. Then I created the low poly and uv mapped it by manually creating seams, unwrapping and scaling islands for the most prominent parts of the mesh, and auto unwrapping the rest. I used the add-on to specify island groups that I wished to maintain scale in order to maximize texel density where I planned on adding text.
Optimizations
My only optimization goal for this project was to keep the poly count low and to only use a single material.
The final asset has 7,669 verts (4834 merged) or 9,051 triangles after exporting to GLTF format with a single material that has diffuse, normal map, and a single metallic/roughness channel packed texture.
This type of prop wouldn't get very close to the camera in most games except maybe in VR, so as a simple background prop, I could probably ditch the normal map altogether and significantly lower vertex count. The lighting components under the bed could be simplified since the player likely won't get close enough to notice. I would also redo the UV map, significantly reducing the number of islands.